Propagating and taking care of the Croton plant is easy. It can be propagated in various methods such as stem cutting in water and soil, air layering, division, and leaf-cuttings. Knowing how to propagate croton plants effectively can increase your plant collection without any cost. It can be propagated at any time of the year. In this article, the propagation of the Croton plant using different methods will be discussed thoroughly.

As an Amazon Associate I earn from qualifying purchases.
About Croton plant
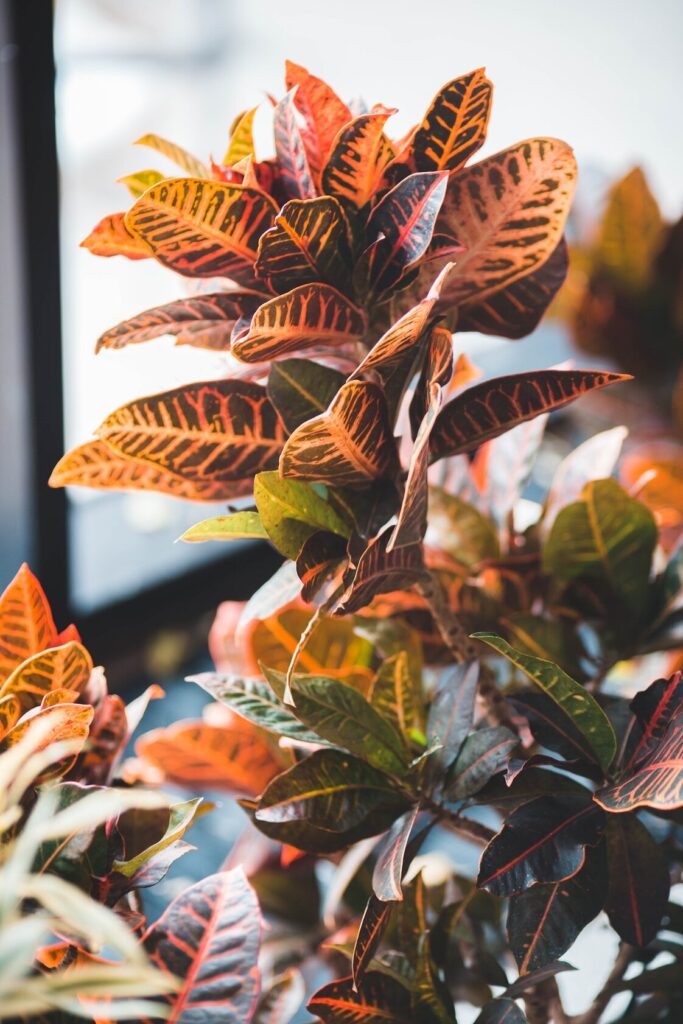
Croton plants belong to the Euphorbiaceae plant family which is native to Southeast Asia. Its leaves have various colors such as red, yellow, green, pink, orange, purple, pink, and white. Some of its common varieties are gold dust croton, oakleaf croton, petra croton, mammy croton, and Zanzibar croton. Tall varieties of the croton plant can grow up to 10 feet while its dwarf varieties can grow up to 3 feet to 5 feet tall.
Can Crotons be grown from cuttings?
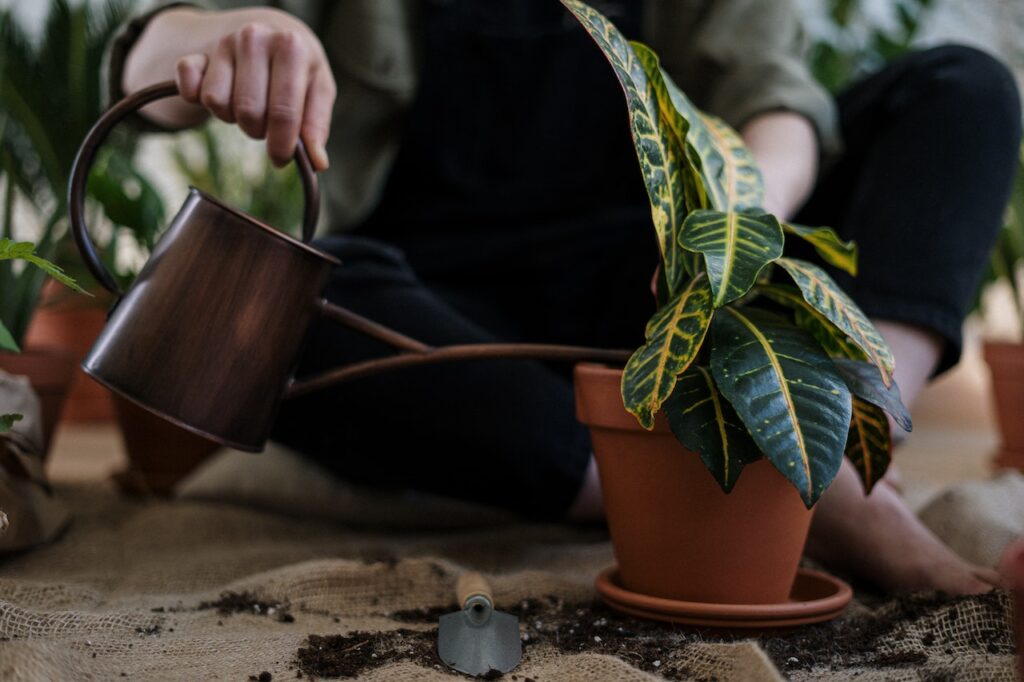
Crotons can be grown from cuttings. Root them in water or soil and transfer them to a larger pot when their roots developed. It can be grown directly in the soil to save time from transplanting it. Keeping the soil moist and putting it in good environmental condition can help the croton plant quickly recover from dryness and prevent it from rotting.
How to propagate Croton plants?
Croton can be propagated through the stem-cutting method in water and soil, air layering, division, and leaf cuttings.
Steps in propagating through stem cutting method
The cutting method is the most effective way to propagate croton plants.
- Prepare all the materials
- The materials that you will need are a healthy and mature parent plant, disinfectant, disinfected knife or pruner, water, pot, rooting hormone (optional), and well-draining soil.
- Cut 4 inches to 6 inches of stem from the parent plant
- Wear protective gloves to avoid touching its milky sap because it irritates the skin. Cut the stem diagonally to enhance water absorption and prevent bacterial growth. Take off the leaves on the lower part of the stem and keep the leaves at the top.
- Root cuttings in soil or water
- If you will propagate Croton plant cuttings in soil, dip the plant in a rooting hormone and plant them in a well-draining potting mix. You can plant them separately to save time from transferring them to a new pot when their roots developed.
- If you will propagate Croton plant cuttings in water, put rainwater, distilled water, or tap water without chemicals in a container. A transparent container can help you to easily monitor root development. Prevent water stagnation by replacing the water regularly.
- Transfer it to the soil
- When numerous roots with at least 1 inch in length are developed, they can be transferred separately in a larger pot. The soil must be well-draining to keep the plant aerated and hydrated. The pot must be fit for the plant and has good drainage.
- Take good care of your croton plant
- Put it in an area where there is full or partial sunlight. The color of its leaves depends on the sunlight that it gets. Put it indoors when the temperature drops to 15 degrees Celsius.
Steps in propagating through air-layering
Air-layering is the propagation method that is used by those who plant Croton outdoors. It can be done indoors, but propagating croton plants through air-layering outdoors is more effective because the plant receives better natural air flow outdoors than indoors.
- Prepare all the materials
- The materials that you will need are sharp and clean knife, pot, rooting hormone, plastic wrap well-moistened sphagnum moss, and water.
- Create a wound in the stem of the croton
- Choose a stem that receives indirect sunlight. There must be leaves above the area where you will create a wound. Gently cut the stem and insert a small and thin stick to keep the wound partially open. The milky sap from the plant will run through and it will slow down and stop after a few minutes. A rooting hormone can be put on the wound for faster root development.
- Cover the wound
- Wrap the wound in a thick layer of sphagnum moss. Sphagnum is the ideal kind of moss for propagating crotons through air-layering because it has a neutral pH level. Put a plastic wrap around the moss to keep a high humidity level and lock in the moisture on the cut.
- Wait for it to develop its roots
- Check the condition of the moss regularly. When it shows signs of dryness, take off the plastic wrap temporarily. When the moss got moistened, cover it again with plastic wrap. The roots will be developed in a few weeks.
- Remove the stem from the parent plant
- When it develops numerous roots 3 inches in length, the stem can be removed from the parent plant. Transfer it to a new pot and take good care of it.
Steps in propagating through division
This propagation method only works with croton varieties that produce more than two stems from the base of the plant. Most varieties of croton plants have only one stem from the plant’s base that’s why propagating them through division is not effective. If there are multiple stems from the base of the plant, you probably planted multiple stems together in one pot.
- Prepare all the materials
- The materials that you will need are disinfected knife or pruner, pot, water, and well-draining potting mix.
- Remove the plant from the pot
- Gently remove the plant from the pot to prevent its roots from getting damaged. Cut any damaged roots to keep the plant healthy. Shake the soil on the roots to separate them easily.
- Plant them in a new pot
- The potting mix that you will use must be the same as the parent plant to prevent transplant shock. Put more soil around the stem of the new plant and pat it gently to keep the plant steady. Maintain a proper temperature and humidity to keep the plant healthy and attractive.
Propagating croton plant through leaf cuttings
Leaf-cutting is not an effective way of propagating croton plants. The leaves can produce roots but it doesn’t have an auxiliary bud that will support the growth of the plant. You will get rooted leaves and they can be planted, but they will not live long enough. This method will only propagate croton leaves, not the whole plant.
- Prepare all the materials
- The materials that you will need are disinfected knife, croton leaves, a pot, a well-draining potting mix, and water.
- Root the leaves in soil or water
- If you will propagate croton leaves in the soil through the stem-cutting method, you must plant them in a well-draining potting mix and water them regularly to prolong their life.
- If you will propagate croton leaves in the water, soak the leaves in the water and wait until it develops numerous roots 3 inches in length.
- Plant the leaves in the pot
- When it develops numerous roots, you can plant them in a pot. You can plant leaves together in a pot and arrange them in your preferred style.
When to propagate Croton plants?
Croton plants can thrive in different climates and environmental conditions so they can be propagated throughout the year. The best season to propagate them is in spring and summer. These are the seasons when croton plants are growing actively. A healthy and mature stem must be used in propagating croton plants to make propagation more effective.
Conclusion
Croton plant adds color to your garden. It creates a beautiful landscape when grown outdoors. In this article, the steps on how to propagate croton plants using different methods are discussed. Stem cutting is the most effective method of propagating croton plants. Propagating it through division and leaf cuttings will not result in effective propagation. The best time to propagate it is in spring and summer. It can be propagated all year round because it can thrive in different climates and environmental conditions.

Meet Tomas Clayton, a seasoned plant gardener who has been passionate about horticulture since he was a child. Tomas John developed a love for the natural world and a strong appreciation for the beauty of plants while growing up on a farm.